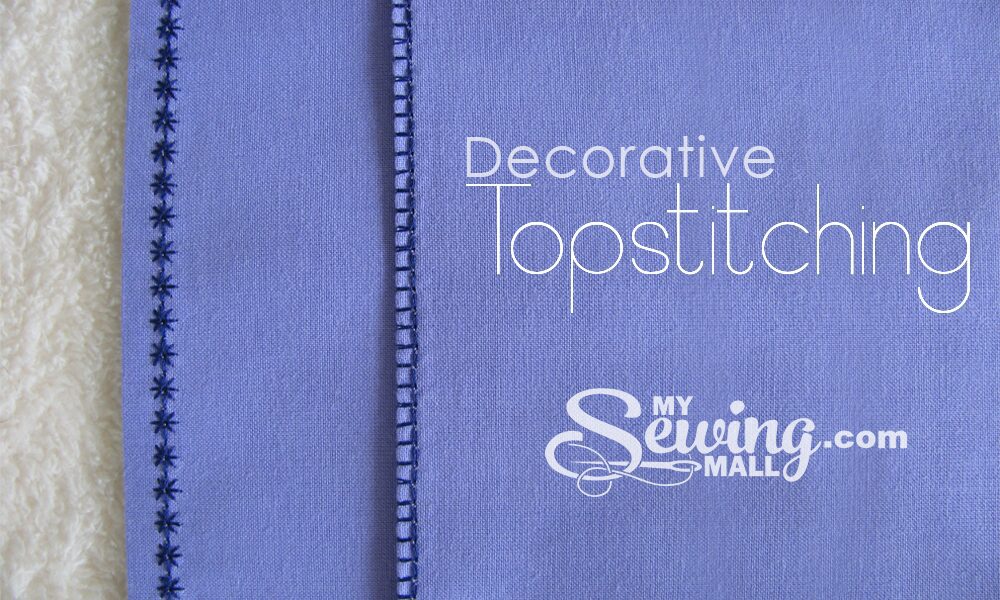
Top-stitching refers to a single or a set of machine stitches that are applied to the face of a garment for both decorative and functional purposes.
Top-stitching can be used on casual items such as active wear, sportswear, and denim. Top-stitching can be a great way for beginners to learn how to sew and add uniqueness to their garments.
To avoid bulking up fabric and creating a smooth outside finish, topstitching uses a longer length of the stitch. Contrast thread is best for decorative purposes.
Top-stitching can be done with a zigzag or any other embroidery stitches that you have on your machine. Top-stitching is useful if you want to prevent excess seam allowance or pleats from slipping around inside the garment.
Top-stitching can be used along seams for both durability and to ensure seam allowance is pointed in a particular direction. This preserves the garment’s structure, and it requires less ironing to finish washing.
Let’s get to know more about topstitching. Now let’s practice some exercises. Before you start your final project, we encourage you to practice decorative and functional topstitching on scrap fabric.
To achieve smooth and even topstitching, you need to have the ability to hold your fabric in place. Do not be discouraged if your first stitches are not perfect. You’ll soon be a pro at sewing!
Note – For topstitching, read brother lx3817 review to know how amazing this model is!
Edge Stitching
Find the correct tension
Test your topstitching skills on a scrap of fabric with the same number of layers as your project. Make sure you are using the same elements such as needle, thread, interfacing, and stitch type.
You can adjust the tension to achieve different effects. To reduce puckering, adjust the tension to a lower setting. Tip: L stands for lower and equals looser. A slightly higher number will pull more on the upper thread, making it tighter.
Perfect your technique
These helpful tips will help you to make topstitching easy.
- Trim seam allowances to 1/8 inches for collars and sleeves. Topstitch from the right side just beyond the seam allowance. This reduces bulk and allows for the material to lay smooth.
- Stitch with your right side up so that the needle thread is visible. This will allow you to see what you are stitching. If possible, stitch multiple rows in the same direction. This will prevent puckering and rippling in between the rows.
- Use a slow, medium, or even fast speed to sew. Do not “pump” your foot pedal. You can create erratic stitches by sewing too quickly.
- If the entire area is not stable, you can spot-stabilize difficult areas such as corners and beginning and end. Small amounts of lightweight tearaway stabilizers are kept handy for when the feed dogs need to move the fabric.
- Instead of looking at the needle, look at the guide and the fabric. A guide can be placed on the foot of the machine or on the bed. This will allow you to make perfect measurements. Move the needle position, especially if you are using a straight stitch to achieve the spacing that you want.
- As you stitch, keep the needle down and stop. The needle holds the fabric and prevents it from slipping. It also keeps your stitching consistent.
- Any thread tails not hidden in a seam should be drawn to the wrong side of the fabric at the beginning and end of the stitching. Run the thread for 1/2 inch through the seam nearest you, and then cut the tail.
- A grooved sole foot is best for creating a raised effect using the twin needle. Flat soles are best for smooth, flat double-needle topstitching.
Decorative and Functional Top-stitching Along The Seam
It is easy to topstitch along seams because you can use seam lines as a guide. The most common distance is 1/4″ to 1/2″. Top-stitching can be done on either one or both sides of the seam.
You can also choose whether to add one or a cluster of stitches. However, an automatic needing theater can assist you the best with topstitching. Read singer 4423 reviews to find out.
Top stitching on Either Side of the Seam:
Topstitching both sides of the seam:
1. Topstitch on both sides of the seam line. Make sure to finish seam allowance raw edges individually with a serging or zigzag stitch.
2. After cleaning the edges, pin the seams and machine stitch them together to the desired seam allowance.
3. As shown below, iron the seam allowance.
4. Start by working on the front side of your fabric. Align your presser foot with the seam line and start stitching. Make sure you stitch through the seam allowances on the backside. All should be flat and smooth. You can repeat this step on each side to get a single row of even topstitching.
Top stitching on one Side of the Seam Line
Top stitching on the Seam Line:
1. Pin the seam and sew it together using the seam allowance.
2. Use a serging/zigzag stitch to finish the edges.
3. Iron the seam allowance to one side depending on where you want the topstitching.
4. Apply a machine stitch to the front side of the garment. Top-stitch only on the seam allowance side. Top-stitching should be done in a way that aligns the seam line with your presser foot’s edge. Keep it aligned while you topstitch. To add more rows of topstitching to your project, you can simply use the first stitch as a guide. For evenly spaced rows, the presser foot trick mentioned above is a great way to create topstitching.
Opt for a model such as a Janome derby sewing machine to ensure amazing sewing results.
Other Uses For Top stitching
These are just a few examples that you might find in common topstitching, which can be used for decorative or functional purposes.
- Top stitched Tugs: This keeps the excess tuck in its place and gives the garment a durable, decorative look.
- Top-stitching over box pleats, side pleats, and inverted pleats: Maintains structure and keeps the pleat excess flat.
- Top stitching around Zippers: While this is mostly decorative, it can also be used to keep the zipper edges and seam allowance flat for greater durability and comfort.
- Top stitching waistbands: This helps the waistband lay flat and is durable. It also gives it a casual look.
Read more : The Biggest Modern Home Furniture Shops in USA