Whether you’re trying to maintain your hardwood floors or you’re trying to make them look new again, you may have questions about whether you can use a buffer to do so. There are several factors that you’ll want to keep in mind to make sure you don’t end up scratching your floors. These include controlling the aggressiveness of the buffer, minimizing scratches, and sanding a proper grit sequence. Here are a few tips from the experts at Bell Janitorial Supply.
Buffing vs sanding
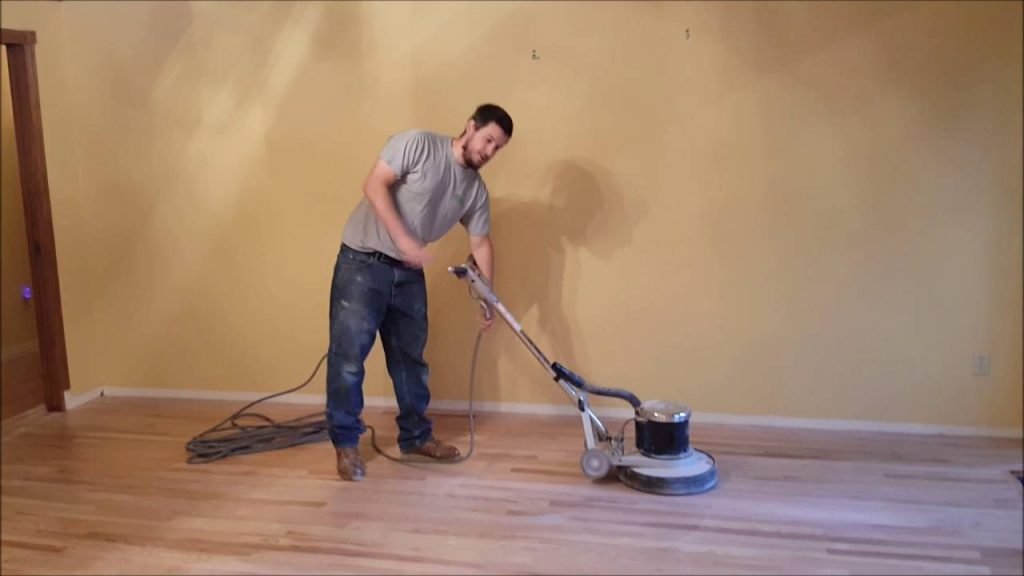
Whether you are restoring your hardwood floors or looking to add life to your old floors, buffing vs sanding on hardwood floors are both important steps. The difference between the two is in the amount of time and tools you will need to use. Sanding is much more thorough and requires more experience. Sanding will also correct deeper scratches, while buffing will only address surface scratches.
Buffing is a simple process that involves abrading the top layer of the finish. While buffing is not a complete cure, it is an effective method for fixing shallow scratches, nicks, and other surface imperfections. It is also recommended for fading finishes. The process can be done by hand or machine.
Buffing vs sanding on floors can be a confusing process for many homeowners. However, buffing is a great way to revitalize a tired, dull floor. This process lifts light marks on the protective layer and makes the floor look shiny and new.
Sanding is a more thorough process that removes the top layer of wood, revealing the healthy timber underneath. This process involves progressively finer sandpaper. The grit sequence used varies depending on the type of wood. For resinous wood, a coarser grit may be necessary. Sanding can cause dust to gather on the floor. Sanding is best for larger areas, but it can be done on smaller parts as well.
Buffing vs refinishing will depend on the type of damage the floor has. Buffing is best for removing scratches and light blemishes while refinishing is better suited for deeper scratches. Buffing vs refinishing on floors is also dependent on the amount of traffic the floor sees. Buffing is not recommended for heavily trafficked floors. Depending on the amount of traffic, you may want to buff and refinish your floors every three to five years.
Both buffing and refinishing will help your hardwood floors look their best. However, buffing is the easier of the two methods. Sanding is more time-consuming and requires more tools. Sanding will also remove debris from the floor, whereas buffing does not.
Controlling the aggressiveness of the buffer
Using a floor buffer correctly is important for several reasons. A well-maintained buffer will ensure an efficient sanding experience and reduce service costs in the long run. In addition, a properly maintained tool can mean the difference between a successful and a flopped job. For example, a poorly maintained tool can make a sanding job less productive and can even exacerbate an existing problem.
The best way to avoid this problem is to know what your tool does best. For example, you should know that a buff and coat will make your floors smoother and more polished than you can get by using only a sander. Alternatively, a good buffing job can salvage a sanding job that was less than optimal. If you are working on a hardwood floor, a buffer is an important friend. For this reason, it is important to read the owner’s manual. Also, make sure the machine is plugged in and grounded before heading out to the woods.
There are many different types of floor buffers on the market. You should also consider your needs and budget before selecting one. Some buffers are more expensive than others, so do your research and don’t just go for the first one you see. Using a well-maintained machine will ensure that your floors look their best. This is especially true when it comes to sanding. A good buffing job will help prevent scratches and other blemishes from ruining a good sanding job.
Controlling the aggressiveness of the buffer is also important. The best way to do this is to use an egg-shaped motion when operating your tool. This is the best way to keep the sanding machine in motion while also maintaining a level working surface. A tip to keep in mind is to keep the buffer on the floor, not on the pad. This may sound counterproductive, but it will help to maintain an even and professional looking sanding job.
Controlling all of the above is no small feat, but it’s not impossible, if you take the time to learn how to use your tool correctly.
Minimizing objectionable scratches
Having a buffer on your hardwood floors can be a useful way to minimize objectionable scratches. However, you must be careful when using it. Some materials are not compatible with a buffer. Some can even cause damage. So, be sure to follow the following tips for effective buffing.
First, you need to make sure that your floors are free from dirt and debris. You may want to use a scraper mat to keep dirt and debris from getting on your floor. Vacuuming the floor before and after buffing can also help prevent debris from getting under your buffer.
Once the floor is free from dirt, you should apply a soft cloth to it and buff the area. You should use a combination of olive oil and baking soda. Apply the mixture with a sponge or brush, and then buff it with a soft cloth.
For deeper scratches, you may need to use a sanding pad or a floor buffer. These tools are designed to remove surface scratches from hardwood floors. They are also useful for cleaning areas that are too difficult to get into by hand.
You can also use a blending stick to fill in the scratches. You can also use a stain marker to color match the scratch. This can be difficult, especially with oil-based stains. The stain should be matched to the color of your wood floor. If the stain marker isn’t matched, you can use a stain pen to fill in the scratches.
You can also use a double-sided abrasive disc for buffing. This will leave a different scratch pattern. However, the abrasive disc should be moved toward the center of the room. This will make the buffer run more smoothly.
You should also avoid using a floor buffer on a vinyl floor. It may be too harsh for the material. You might also need to purchase a buffer specially designed for vinyl. This can cost a lot of money. It can also be difficult to use. Using a floor buffer on a vinyl floor can also be a gamble.
Sanding grit sequence
Using the right sanding grit sequence is critical for refinishing and installing hardwood floors. Without it, you could leave ugly stains or scratches in the wood. A sanding sequence allows you to remove the wear layer from the surface, making it more durable. It also helps the colorants and sealers to penetrate the wood, allowing for optimal adhesion.
When refinishing your floor, it’s important to start with the finest grade of sandpaper you can get. It’s also important to avoid skipping a grit. This can lead to larger scratches or lines running through the floor.
It’s also important to use a sanding screen during the final pass. This will make the surface finish friendly and will smooth out any repairs. It will also remove scratches from lower grits. You can also use a random-orbital sander to buff edges. It will also help to keep your baseboards in place.
When sanding hardwood floors, it’s important to remove the wear layer. The wear layer is the layer of material that makes the surface rougher. Using the correct sanding grit sequence will help to remove the wear layer while leaving the wood looking like new.
Most contractors skip grits like 60 and 80. This is because the coarse scratches from the previous grits are sanded away by the fine scratches of the next grit. However, it’s not recommended for beginners. You can get larger scratches if you skip a grit. It’s also not recommended to skimp on the second sanding pass.
The next grit in the sanding grit sequence is 150 or 180 grit. This is a finer level of coarseness and should be used in a circular motion. Then it’s time to finish the sanding with a final pass of 220 or 240 grit.
Sanding your hardwood floors requires careful planning and experience. It’s important to know the right sanding grits to use, as well as the proper order of the sanding stages. This will ensure that your floor looks new and lasts as long as possible. It’s also important to hire a professional sanding contractor to do the work for you.
Michael C Vang is a passionate blogger. He has been blogging since 2013 on a variety of topics. He is committed to creating informative and engaging content that helps readers learn more about everything.