Screenshots are used for capturing and sharing information. You can capture your remarkable moments in a game, important pieces of text, or intriguing web pages. If you have a Razer laptop and need to capture screenshots, you might be wondering how to do it, how to screenshot on Razor laptop. Fortunately, taking screenshots on a Razer laptop is simple and easy-peasy.
In this article, we will discuss different ways to screenshot on a Razer laptop. You might need to capture a full screen, a specific window, or a custom area. This comprehensive guide will make sure that you get it all. We will also share some tips and tricks to make your screenshot-taking experience more satisfying. Follow the steps outlined below to become a master at capturing screenshots on your Razer laptop.
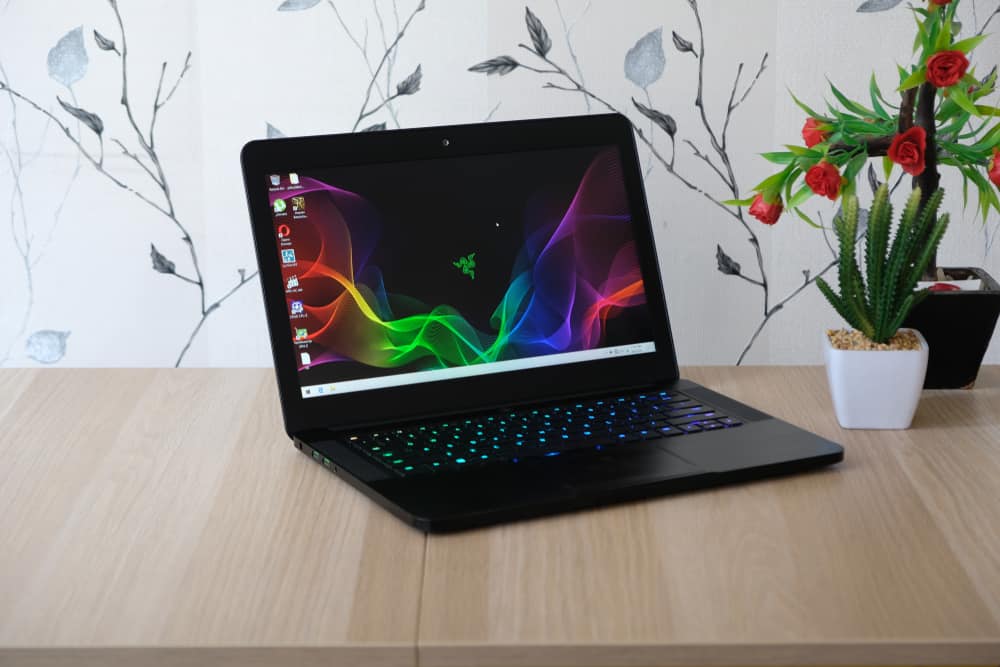
What Is a Razer Laptop?
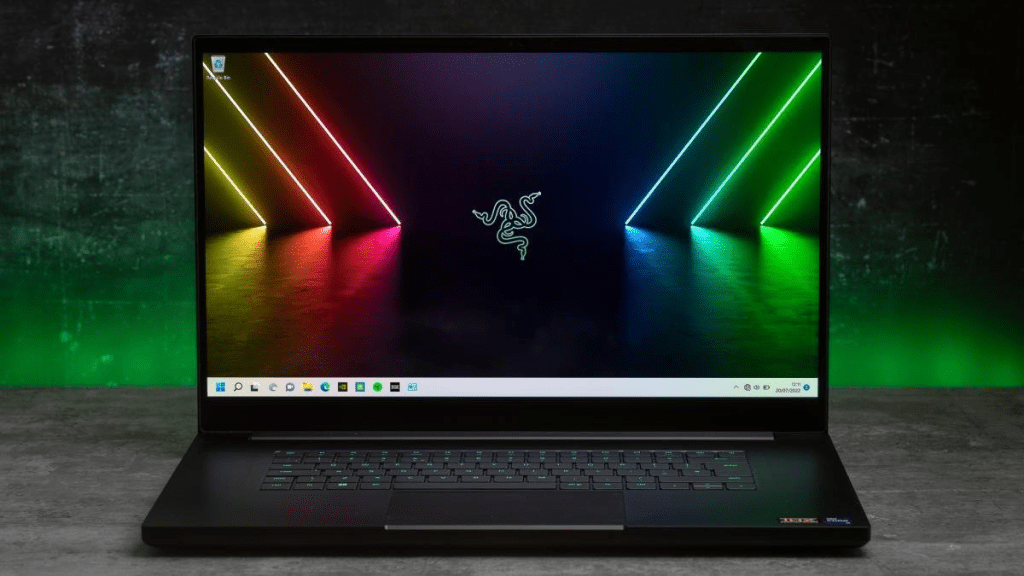
Razer laptops are famous for their high-performance and sleek design. It makes them popular among gamers and professionals.
Among all other laptop brands such as Apple, Lenovo, HP, and many others, the Razer laptop is unique.
A variety of Razer Laptops is available. They are all mostly used for gaming. Yet, the Razer laptop is also perfect for students and professionals. You can use it for your student work as well as professional work.
Thus, the Razer laptop also has useful screenshot features that can capture whatever you want. Therefore, without delay, let’s find out different methods you can use to take screenshots on a Razer laptop.
Importance of Screenshots
Screenshots are visual representations of what you see on your screen. They can be extremely helpful in various scenarios, such as:
Technical Support:
When troubleshooting issues on your Razer laptop, screenshots provide a convenient way to capture error messages. They also help to display settings that can aid technical support personnel in diagnosing and resolving problems efficiently.
Collaboration and Communication:
Screenshots are useful in both personal and professional scenarios. With screenshots, you are able to share visual information. You can easily demonstrate any concepts and highlight specific details. Screenshots make it easier to convey ideas and cooperate with each other effectively.
Documentation:
You may want to keep a record of some important information. If you are working on a project, you can capture screenshots for future reference. You can easily retrieve data or revisit a particular webpage. Screenshots make our life easy by saving us a great deal of time.
Methods to Take Screenshots on a Razer Laptop
Let’s find out the different methods you can use to capture screenshots on your Razer laptop. Remember to follow the relevant method based on your specific requirements and preferences.
Method 1: Using Keyboard Shortcuts
Razer laptops provide useful keyboard shortcuts. You can capture screenshots effortlessly. Follow these steps to capture your screen using keyboard shortcuts:
Full-screen Screenshot:
Press the Print Screen key to capture the entire screen. The screenshot will be stored on your clipboard. The print Screen Key is labeled as PrtSc or PrtScn.
Active Window Screenshot:
You may want to capture the currently active window. Press the combination of Alt + Print Screen. This will capture the active window and store the screenshot on your clipboard.
Custom Area Screenshot:
If you want to capture a specific area of your screen, you will have to activate the Snipping Tool. The Snipping Tool allows you to select the area to capture. To activate the Snipping Tool, press Windows Key + Shift + S. You can capture the selected area. The captured screenshot will be saved to your clipboard.
Method 2: Utilizing the Snipping Tool
The Snipping Tool is a built-in screenshot feature available in Microsoft Windows. It provides further utility and customization options compared to keyboard shortcuts. Here’s how to use it:
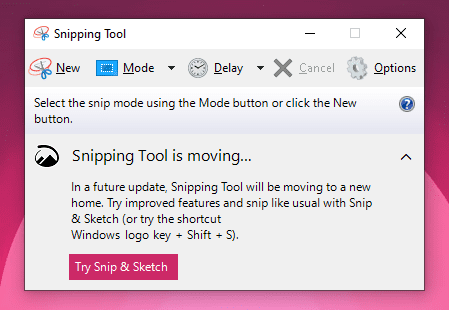
Open the Snipping Tool:
Press the Windows Key on your keyboard. Type “Snipping Tool” in the search bar. Select the Snipping Tool app from the search results.
Capture a Screenshot:
After the Snipping Tool is open, press the “New” button. Select the desired area to capture by dragging your cursor. Once you’ve selected the area, a Snipping Tool window will appear displaying captured screenshot.
Save and Annotate:
In this Snipping Tool window, you can annotate or highlight specific areas of the captured screenshot. Certain customization tools are also available here. When you’re done, click on “File” in the menu bar. Select “Save As”. Choose a location. And save the screenshot in your desired format.
Method 3: Using Third-Party Software
You may require advanced screenshot capabilities. You can use third-party software solutions. They provide additional features that are not provided by the built-in options. Here are a few popular choices:
Snagit:
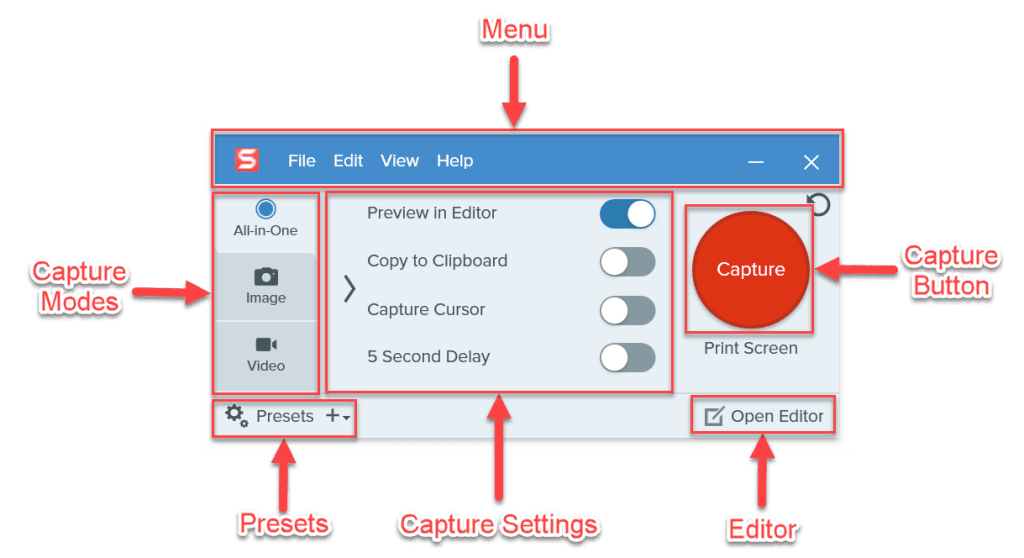
Snagit is a powerful and user-friendly screenshot tool. It offers a variety of capturing and editing options. You can capture screenshots, record videos, and add annotations without any complexity.
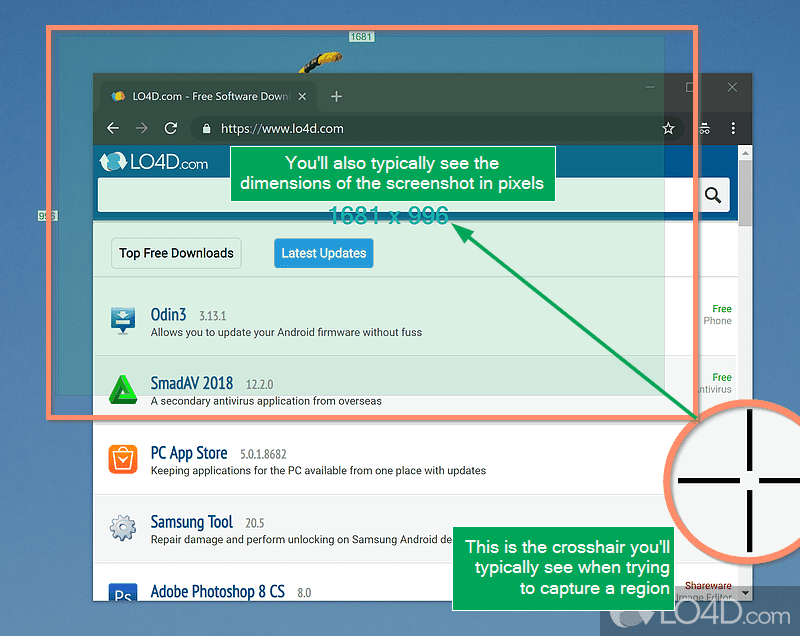
Lightshot:
Lightshot is a lightweight and intuitive screenshot tool. It offers quick captures and easy sharing. It provides simple editing features. You can add text or arrows. It lets you upload screenshots directly to the cloud.
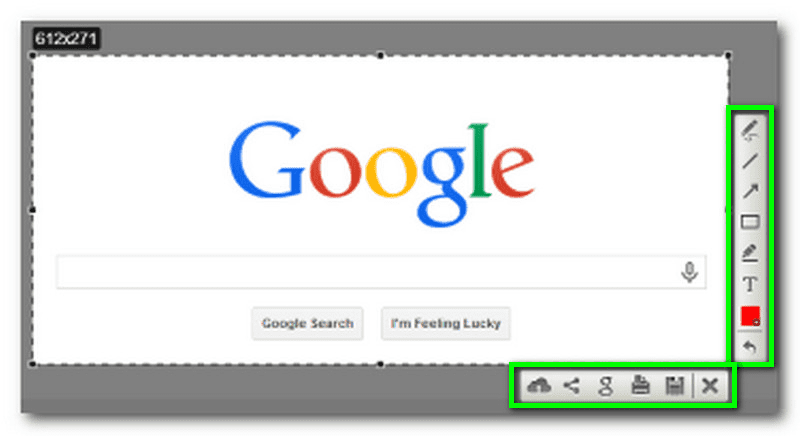
Greenshot:
Greenshot is an open-source screenshot utility. It offers comprehensive capturing options. Its features include full screen, single window, specific area, and even scrolling capture for long web pages. It also provides basic editing features and supports various output formats.
Customizing Screenshot Settings
Razer laptops often come with additional software and settings that allow you to customize screenshot-related options. Explore your laptop’s settings or the software bundled with it to access features like:
Hotkeys:
Some Razer laptops allow you to define custom hotkeys for screenshotting, giving you greater flexibility and convenience.
Output Format:
Check if your laptop lets you choose the output format for the captured screenshots. Common formats include PNG, JPEG, and GIF, each with its own benefits and considerations.
Destination Folder:
Determine where your Razer laptop saves the captured screenshots by default. You may prefer a specific folder or create a dedicated one for easier organization.
Organizing and Sharing Screenshots:
Once you’ve captured your screenshots, it’s essential to organize and share them effectively. Consider the following tips to manage your screenshots efficiently:
Create Folders:
Organize your screenshots into folders based on different categories, projects, or time periods. This will help you locate specific screenshots quickly and maintain a clutter-free environment.
Rename Files:
Giving your screenshots descriptive names can make them more recognizable and searchable in the future. Avoid generic names like “Screenshot1” and opt for meaningful titles that reflect the content captured.
Cloud Storage:
Utilize cloud storage services, such as Google Drive, Dropbox, or Microsoft OneDrive, to back up and access your screenshots from multiple devices. Cloud storage also enables easy sharing and collaboration with others.
Sharing Platforms:
If you want to share your screenshots with others or showcase them publicly, consider using image-sharing platforms like Imgur or social media platforms like Twitter, Facebook, or LinkedIn.
Conclusion
Taking screenshots on a Razer laptop is a simple and effortless task. It can be accomplished in the ways mentioned above. The key is to find the best method suitable for you. You may prefer the built-in keyboard function or the Windows Snipping Tool. If you need advanced features, you may want to go for third-party apps.
Follow the methods outlined in this article. You will be able to quickly and easily capture screenshots on your Razer laptop. It will take your productivity and gaming experience to the next level.
Remember to explore the customization settings on your Razer laptop. It will help you to personalize your screenshot experience further.
FAQs
Pressing Print Screen captures a screenshot of your entire screen and stores it in the Clipboard. The print Screen Key is labeled as PrtSc or PrtScn.
Razer has long provided some of the best gaming laptops on the market. Yet, Razer laptops are also perfect for personal and professional scenarios.
Press the Windows logo key and the PrntScr key together. This works on laptops with Microsoft Windows.
Read This: How to Screenshot On Samsung 21s Ultra in Just 1 Second
Michael C Vang is a passionate blogger. He has been blogging since 2013 on a variety of topics. He is committed to creating informative and engaging content that helps readers learn more about everything.